You can choose which model Copilot uses for each GitHub Desktop feature, such as commit message generation and conflict resolution.
You can also configure GitHub Desktop의 Copilot 기능 to use your own LLM provider (BYOK) instead of GitHub-hosted models. This lets you connect to OpenAI-compatible endpoints, Azure OpenAI, or Anthropic, including locally running models such as Ollama.
Prerequisites
- You must be signed in to a GitHub account with access to GitHub Desktop의 Copilot 기능.
- If your access is managed by an organization or enterprise, GitHub Desktop의 Copilot 기능 must be enabled for your account.
- You have an API key or bearer token from a supported LLM provider, or you have a local model running, such as Ollama.
- You have the base URL and at least one model identifier for the provider you want to use.
참고
Custom LLM providers in GitHub Desktop require access to GitHub Desktop의 Copilot 기능. To use your own LLM models with 코파일럿 CLI, see GitHub Copilot CLI에서 사용자 고유의 LLM 모델 사용.
Supported provider types
GitHub Desktop supports three custom provider types:
| Provider type | Compatible services |
|---|---|
| OpenAI / OpenAI-compatible | OpenAI, Ollama, vLLM, Foundry Local, and any other endpoint that is compatible with the selected API format. |
| Azure | Azure OpenAI Service. |
| Anthropic | Anthropic Claude models. |
Configuring your provider
You configure your model provider by adding a custom provider in GitHub Desktop settings.
-
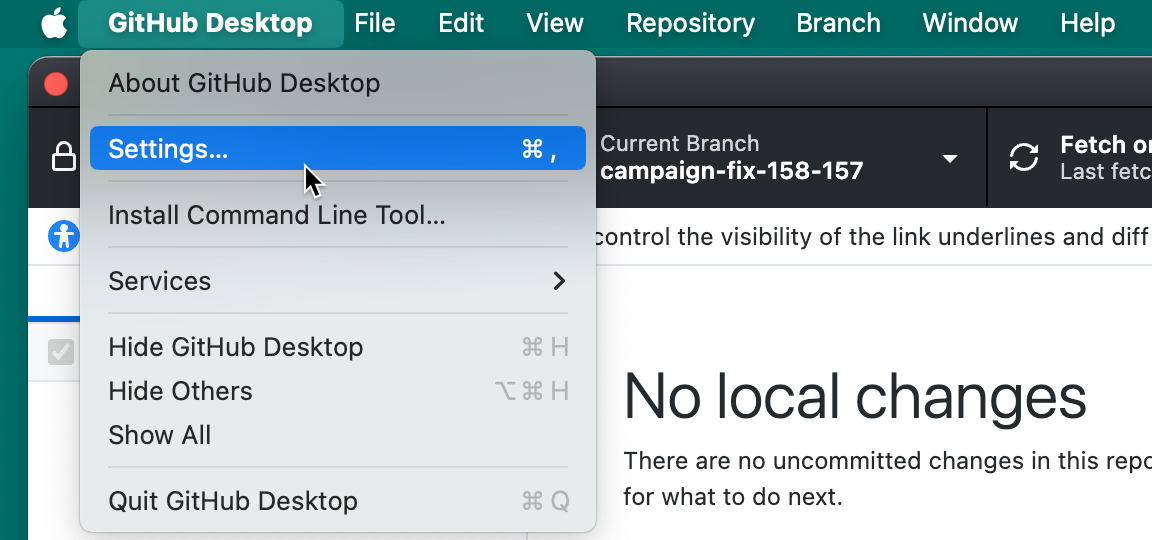
메뉴 바에서 GitHub Desktop 을 선택하고 Settings을 클릭합니다.
-
In the left sidebar, click Copilot.
-
공급자 탭 을 클릭합니다.
-
공급자 추가를 클릭합니다.
-
이름 아래에 LLM 공급자의 이름을 입력합니다.
-
형식에서 공급자 유형을 선택합니다.
-
기본 URL 아래에 모델 공급자의 API 엔드포인트의 기본 URL을 입력합니다.
기본 URL은 HTTPS URL 또는 로컬 컴퓨터를 가리키는 HTTP URL이어야 합니다.
-
OpenAI/OpenAI 호환을 선택한 경우 API 형식에서 공급자가 예상하는 API 형식을 선택합니다.
- OpenAI 채팅 완료 API를 사용하는 공급자에 대해 채팅 완료(기본값) 를 선택합니다.
- OpenAI 응답 API를 사용하는 공급자에 대한 응답(GPT-5 시리즈) 을 선택합니다.
-
Azure 선택한 경우 Azure API 버전에서 배포에 대한 API 버전을 입력합니다.
-
필요에 따라 요청 시간 제한(초) 에 공급자가 응답할 때까지 대기하는 시간(초 GitHub Desktop )을 입력합니다.
-
인증에서 인증 방법을 선택합니다.
- API 키를 선택하여 API 키로 인증합니다.
- 전달자 토큰을 선택하여 전달자 토큰으로 인증합니다.
- 자격 증명이 필요하지 않은 엔드포인트에 대해서만 없음 을 선택합니다.
-
API 키 또는 전달자 토큰을 선택한 경우 필요한 자격 증명을 입력합니다.
-
공급자에 하나 이상의 모델을 추가합니다. 자세한 내용은 공급자에 모델 추가를 참조하세요.
-
추가를 클릭합니다.

-
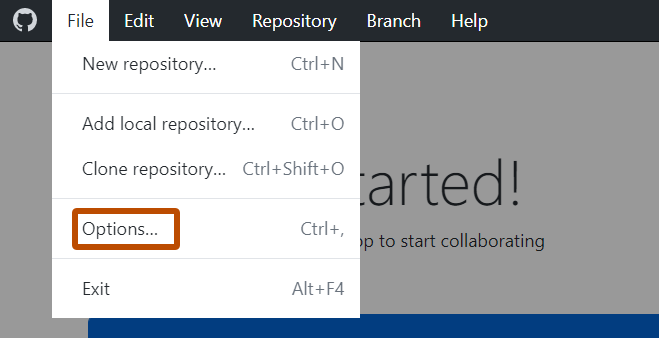
파일 메뉴에서 옵션을 클릭합니다.
-
In the left sidebar, click Copilot.
-
공급자 탭 을 클릭합니다.
-
공급자 추가를 클릭합니다.
-
이름 아래에 LLM 공급자의 이름을 입력합니다.
-
형식에서 공급자 유형을 선택합니다.
-
기본 URL 아래에 모델 공급자의 API 엔드포인트의 기본 URL을 입력합니다.
기본 URL은 HTTPS URL 또는 로컬 컴퓨터를 가리키는 HTTP URL이어야 합니다.
-
OpenAI/OpenAI 호환을 선택한 경우 API 형식에서 공급자가 예상하는 API 형식을 선택합니다.
- OpenAI 채팅 완료 API를 사용하는 공급자에 대해 채팅 완료(기본값) 를 선택합니다.
- OpenAI 응답 API를 사용하는 공급자에 대한 응답(GPT-5 시리즈) 을 선택합니다.
-
Azure 선택한 경우 Azure API 버전에서 배포에 대한 API 버전을 입력합니다.
-
필요에 따라 요청 시간 제한(초) 에 공급자가 응답할 때까지 대기하는 시간(초 GitHub Desktop )을 입력합니다.
-
인증에서 인증 방법을 선택합니다.
- API 키를 선택하여 API 키로 인증합니다.
- 전달자 토큰을 선택하여 전달자 토큰으로 인증합니다.
- 자격 증명이 필요하지 않은 엔드포인트에 대해서만 없음 을 선택합니다.
-
API 키 또는 전달자 토큰을 선택한 경우 필요한 자격 증명을 입력합니다.
-
공급자에 하나 이상의 모델을 추가합니다. 자세한 내용은 공급자에 모델 추가를 참조하세요.
-
추가를 클릭합니다.

Adding models to your provider
Add the models you want to use from your provider. Each model you add appears in the model picker alongside GitHub-hosted models.
-
In the Add Custom Provider or Edit Custom Provider dialog, under Models, click Add Model.
-
Under Display Name, type the friendly name shown in the Copilot model picker.
-
Under Model Identifier, type the exact model name your provider expects.
-
Under Reasoning Effort, select the reasoning level for the model.
For non-reasoning models, or to let the provider choose, leave Default (provider's choice) selected.
-
Click Add.
Reviewing provider responsibilities
When you use your own LLM provider, GitHub Desktop sends prompts and repository context to that provider instead of GitHub. Check your provider's data handling and retention policies before adding credentials.
Always review generated commit messages and conflict-resolution suggestions before committing. For more information, see GitHub Copilot 기능의 책임 있는 사용.